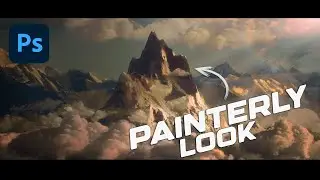
Give Your 3D Renders a Painterly Look - Photoshop Tutorial for Concept Art
🚀 Looking to take your 3D renders to the next level without that "CG" look? In less than 5 minutes, you'll learn advanced detailing techniques that go beyond traditional photobashing to give your renders a polished, realistic finish using Photoshop. This is perfect for concept artists who want to maintain control over their work while adding depth and texture.
In this video, I’ll show you how to take a Blender render of a mountain and enhance it using photo details in Overlay mode for seamless texturing. But that’s just the start! You’ll also learn how to:
1. Use a grain layer to remove that "CG" feel and add realism.
2. Add photo details selectively without losing the integrity of your render.
3. Apply the Median Filter to smooth out overly sharp render details.
4. Use the Mixer Brush and Smudge Tool for natural blending and fine adjustments.
5. Add atmospheric effects using a Hard Light layer for color harmony.
6. Create a glowing effect with Gaussian Blur and Lighten mode for a cinematic finish.
🎯 In just 5:11 minutes, you’ll get a series of actionable, condensed tips that can instantly elevate your workflow and improve your final images.
🔔 Subscribe for more advanced concept art tips using Blender and Photoshop! Got your own tips? Share them in the comments below—let's talk about it!
#Blender #Photoshop #ConceptArt #DigitalArt #DetailingTechniques #3DRender #GrainLayer #GaussianBlur #advancedphotoshop #painterly #photoshoptutorial #conceptartist #blendertutorial #digitalpainting #photoshopbrushes #blenderrender #blender3d #conceptartwork
00:00 Intro
00:56 Grain Layer
02:10 Photobashing (adding photo details)
02:45 Median Filter
03:05 Mixer Brush + Smudge Tool
04:25 Hard Light Layer
04:43 Merge everything


