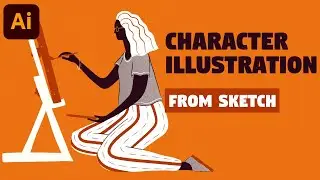
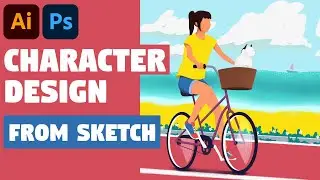
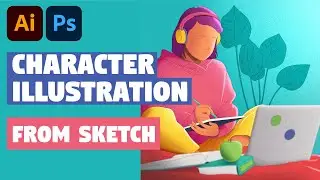
Character Illustration with texture in Adobe Illustrator and Photoshop | Speed Art (from sketch)
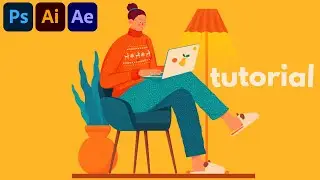
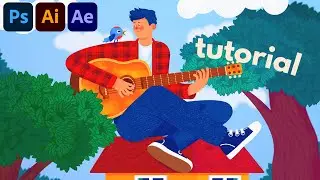
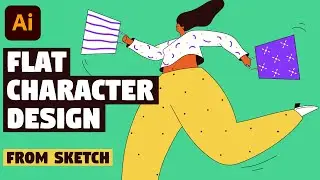
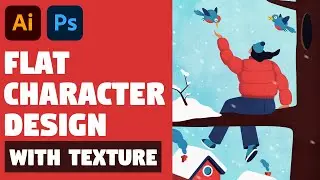
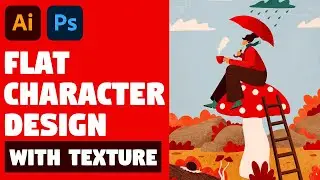
In today’s Adobe Illustrator and Photoshop speed art video I’ll show you how I create flat character illustration in Adobe Illustrator and export it to make a final render in Adobe Photoshop.
I start with a rough sketch and then trace it with the pen tool using the outline method. Then I use divide from pathfinder to add colors, freeform gradient to add textures and export my artwork to Photoshop.
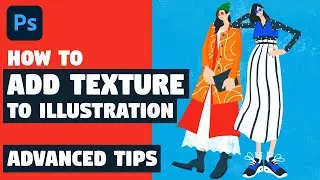
In Adobe Photoshop I add shadows and highlights using general brushes; add volume using the air brush, dodge tool and burn tool; play with colors using hue/saturations panel and add focal depth using the lens blur to make illustration look more interesting.
I hope today’s speed art video about flat character illustration in Illustrator and Photoshop will really help you out. Drop a comment below and let me know what you liked about this video!
► VIDEO GUIDE:
0:00 drawing sketch
0:30 tracing sketch using the pen tool
2:11 adding colors using divide from pathfinder
2:58 adding textures using the freeform gradient
5:18 adding shadows/highlights, contrast and focal depth in Photoshop
► SUBSCRIBE to get more new tutorials!
https://www.youtube.com/TTTutorials?s...
► FOLLOW ME:
Instagram: / tt__tutorials
Facebook: / tt.tutorials.youtube
Pinterest: / tt_tutorials
Behance: https://www.behance.net/tt_tutorials
Twitter: / tt_tutorials
► JOIN ME ON PATREON!
/ tt_tutorials
MORE SPEED ART VIDEOS:
• Character Illustration from Sketch | ...
MORE CHARACTER ILLUSTRATIONS TUTORIALS:
• Character Illustration | Illustrator ...
MORE TUTORIALS:
• Adobe Illustrator Tutorials
Thank you for watching!
#characterillustration #speedart #tt_tutorials

![[PuppetConf 2014][Modules] Test Driven Development with Puppet - Gareth Rushgrove, Pupp...](https://pics.providosiki.ru/watch/Rk4DSuwA-Y4)

![Lonely Night - เป๊ก ผลิตโชค - [ piano cover by KruNatt ]](https://pics.providosiki.ru/watch/vskRiD9bC7Q)
